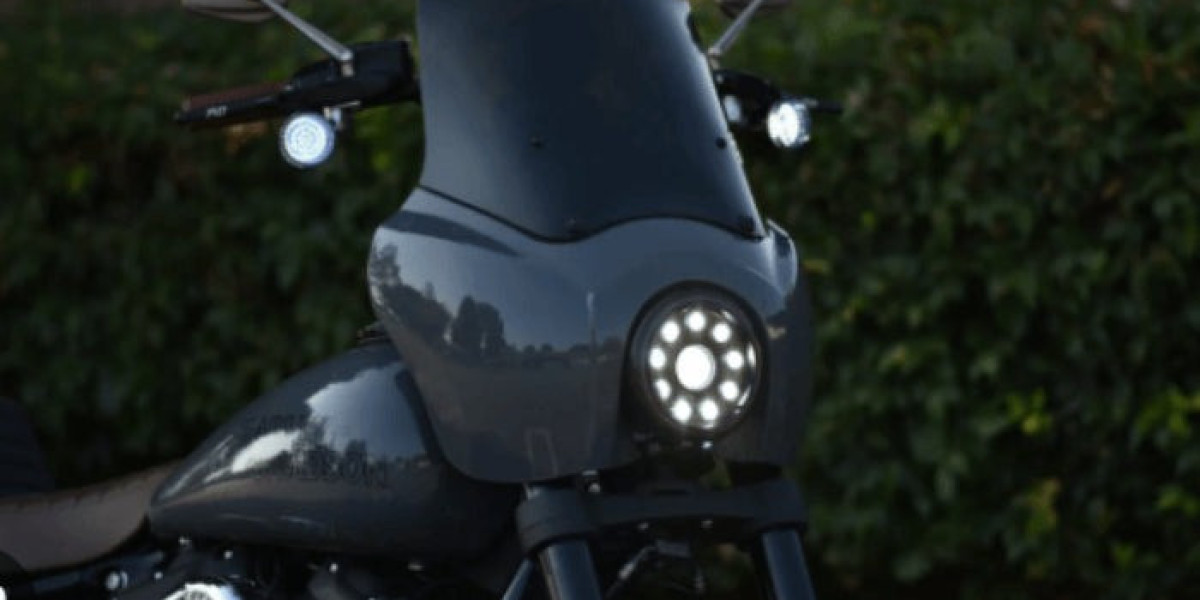
The iconic look of a Harley-Davidson motorcycle is undeniably unique, and every rider wants their bike to reflect their personal style. Upgrading the original halogen headlights to LED is a popular customization for many Harley owners, offering both aesthetic and technical benefits. This guide will walk you through the process of Harley Davidson led headlight installation, equipping you with the knowledge and confidence to tackle this project.
Gathering Information and Materials
Before diving headfirst, it's crucial to gather vital information:
- Your Harley-Davidson model and year: Different models have variations in headlight housings and wiring configurations. Knowing your specific model ensures you acquire the correct replacement LED headlight assembly.
- Researching compatible LED headlight options: Numerous aftermarket LED headlight options exist for Harley-Davidsons. Consider factors like size, brightness, beam pattern, legality, and budget when making your selection. Consult reputable brands and online forums for informed choices.
- Tools and materials: You'll need basic tools like screwdrivers, wrenches, electrical tape, zip ties, and a multimeter (optional). Additionally, gather cleaning supplies like alcohol wipes and rags.
Before You Begin: Safety Precautions
Safety is paramount. Here are some key precautions to take:
- Park your Harley on a level surface and ensure the engine is off.
- Disconnect the battery negative terminal using a wrench. This prevents electrical shorts and potential injuries.
- Wear safety glasses and gloves to protect your eyes and hands while working.
Installation Process: Step-by-Step Guide
1. Removing the Existing Headlight Assembly:
- Locate and remove the headlight trim ring: This usually involves unscrewing or prying it loose, following your specific model's instructions.
- Identify the headlight mounting screws or bolts and carefully remove them using the appropriate wrench or screwdriver. Be mindful of any wires or connectors attached.
- Disconnect the electrical connections: Locate the headlight plug and carefully detach it from the harness. Note the wire colors for easier reconnection later.
- Carefully remove the old halogen headlight assembly.
2. Installing the New LED Headlight Assembly:
- Position the new LED headlight assembly into the headlight housing, ensuring proper alignment and fit.
- Reconnect the electrical connectors, matching the wire colors to the original headlight setup. Utilize heat shrink tubing and electrical tape to secure connections properly.
- Secure the new LED headlight assembly with the mounting screws or bolts you removed earlier. Tighten them firmly but not excessively.
- Reinstall the headlight trim ring, following the reverse steps you took for removal.
3. Testing and Finalization:
- Reconnect the battery negative terminal using the wrench.
- Turn on the ignition and test the new LED headlights. Verify if both high and low beams function correctly. Adjust the headlight alignment if necessary.
- Double-check all connections and ensure everything is secure and in good working order.
- Clean the headlight housings with a damp cloth to remove any fingerprints or smudges.
Additional Tips and Considerations
- Consult your Harley-Davidson service manual for specific instructions tailored to your model. The manual can provide detailed diagrams and additional insights regarding wiring configurations and proper installation procedures.
- Consider professional installation if you're unfamiliar with electrical work or lack confidence in your mechanical skills. A qualified mechanic can ensure the job is done correctly and safely.
- Ensure the chosen LED headlights comply with local regulations regarding brightness and beam pattern. Non-compliant headlights can obstruct other drivers'视线 (shìxiàn, line of sight) and result in fines.
- Check the warranty information provided by the LED headlight manufacturer. Proper installation is often a requirement for warranty coverage.
By following these steps and considerations, you can successfully upgrade your Harley-Davidson with new, bright, and stylish LED headlights. Remember, safety always comes first. Enjoy the enhanced visibility and the unique style your new LED headlights add to your ride! Visit the official website of rogueriderindustries.com