There is no secret that technology is growing enormously in this era. But, we can’t deny the fact that due to technological evolution, scams and cyber theft are also climbing the charts. Considering that, it is not safe to put your crypto assets in any centralized exchange.
Wait a minute! Do you know, what is centralized exchange? Well if you don’t know, let me tell you in brief.
A glimpse of Centralized exchanges
Centralized exchanges, also known as CEXs, can make it simple to purchase cryptocurrencies and tokens. However, when you buy your assets, they are frequently kept on the exchange in a custodial wallet. As a result, the exchange has complete control over those funds because it holds the private key for that wallet address.
But, what if you want to get complete control of your assets?
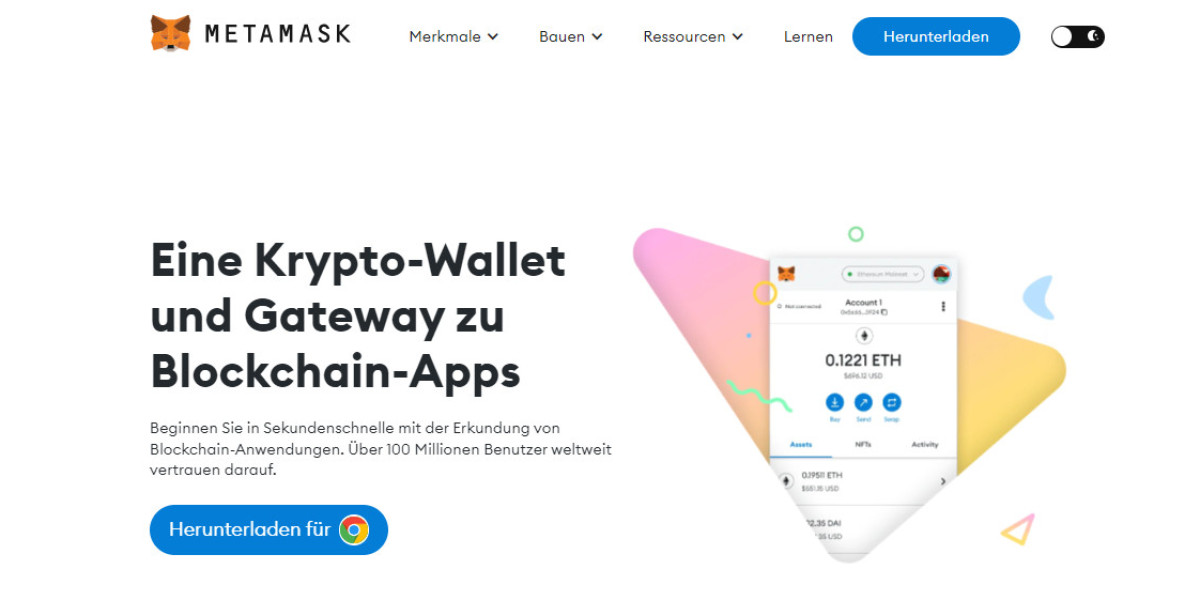
Well, it is possible! But to do this, you have to opt for any self-custodial wallet such as MetaMask. So, if you want to keep your assets in the well-encrypted metamask extension to protect your peace of mind, you can follow this read. And, no need to worry about its availability because you can use it on your PC as a MetaMask extension which supports all major browsers such as Chrome, Edge, Brave, Firefox and Opera as well as on your mobile as an application for both Android and iOS devices.
Here are the steps to move tokens from CEXs to MetaMask
1. Open the crypto exchange from where you want to withdraw assets.
2. Perform the login and look for the currency you want to transfer.
3. Hit the “Withdraw” option and then you’ll be asked to provide the wallet address.
4. Input the address of your MetaMask wallet and double-check to verify if it is correct.
5. Enter the amount and network name in the designated fields to proceed.
6. Thenceforth, fill in the 2FA code, if you have enabled 2-factor authentication.
7. The transfer will be done within 10 minutes, you can check the withdrawal status to confirm.
That’s it, this is all you have to do to transfer your tokens from a centralized exchange to your MetaMask extension or MetaMask application.
The Bottom line!
Nowadays, if you are regularly involved in the crypto economy, you should be aware of the fact that the security of your assets comes first. So, in order to safeguard your purchased assets you can go for self-custodial wallets.
In this read, I have elucidated one of the most reliable wallets – MetaMask wallet, which supports all the tokens based on the Ethereum network. As a crypto trader, you can say that holding assets is a wise concept to grow your income, but holding in an end-to-end encrypted wallet can be a great save from hackers. So, as we know a stitch in time can save nine, whenever you decide to purchase ETH-based tokens, you can refer to this write-up to secure them in the MetaMask extension.